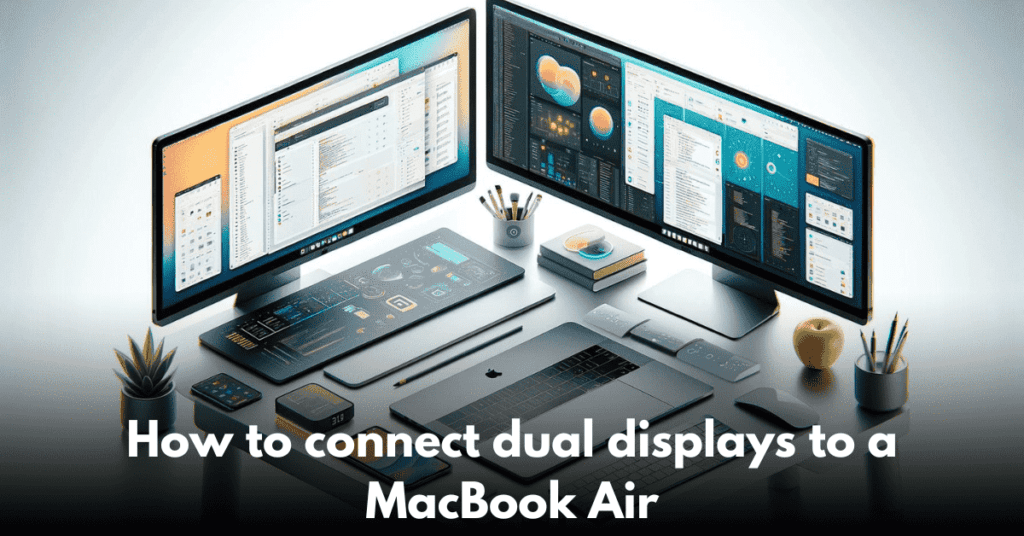
Do you ever feel like the screen on your MacBook Air is too small for everything you need to do? Do you usually lose track of time when you are switching between windows and minimizing and maximizing them? Relax, fellow multitaskers! Dual monitors can really change the way you work by giving you more space and making your workflow more efficient. This guide will teach you how to connect two external displays to your MacBook Air.
Identifying Your MacBook Air
It is important to know what model of MacBook Air you have before you start the connection process. The number of displays it can support and the available ports depend on the year and chip it uses. M1 and M2 MacBook Air models typically have a pair of Thunderbolt/USB-4 ports.
Look at your Mac’s monitor ports. Check out their ports to see if they have HDMI, DisplayPort, or USB-C. The cables you need to connect them to your MacBook Air are based on these ports. Here’s a quick list:
- HDMI: This port is common and can be found on most new laptops and monitors. It transmits both audio and video signals.
- DisplayPort: This is another digital display interface that is popular because it has better refresh rates and resolutions.
- USB-C: This port is very useful because it can send video, data, and power.
Connecting and Configuring The Screens
Here’s a step-by-step guide to connecting the external displays.
- Turn off your MacBook Air and monitors before you start.
- According to above given information, figure out your model. Remember how important it was to figure out what model MacBook Air you have?
- Pick the right cables based on the ports on your monitors (HDMI, DisplayPort, or USB-C). If your monitors have different ports than your MacBook Air, you’ll need adapters (e.g., USB-C to HDMI).
- Connect the cables from your monitors to your MacBook Air’s Thunderbolt/USB-4 ports. If you need to, use adapters.
- Turn on your MacBook Air and monitors. Hopefully, your desktop will be stretched across both screens.
- From the Apple menu, go to System Settings, and then to Displays.
- The displays can now be set up to match their physical layout. In the settings, all you have to do is drag and drop the display icons to make them appear where they would normally be (left or right).
- For each display, you can adjust individual settings like resolution, brightness, and color temperature.
Some Important Considerations
Here are some very important things to remember:
M1 and M2 Display Limitations
Even though these models have two Thunderbolt/USB-4 ports, they can only connect one display at a time. You may need a docking station with extra display outputs in order to connect a second screen. The MacBook Air equipped with the M3 chip has the capability to support up to two external displays. Docking stations are external devices that give your laptop more ports and features.
Closed Lid Operation
If you want to use two external displays with a MacBook Air, you will need to keep the lid closed and plug it in. This is because, in this setup, these models depend on the external displays as their main source of output. You need to close the lid, plug it in, and connect an external keyboard and mouse.
Display Resolutions
The MacBook Air can connect to one external display that has a resolution of up to 6K at 60 Hz or 4K at 144 Hz. When using two monitors at the same time, the main screen can support up to 6K resolution at 60 Hz or 4K resolution at 144 Hz, and the second screen can support up to 5K resolution at 60 Hz or 4K resolution at 100 Hz. The second external display should be connected to the second Thunderbolt/USB 4 port.
Docking Stations
Docking stations, as mentioned earlier, can be extremely helpful when it comes to connecting a second display to MacBook Airs of the M1 and M2 families. In most cases, they connect through Thunderbolt or USB-4, and they offer additional ports such as HDMI or DisplayPort for connecting a second monitor. The functionality of your MacBook Air can be expanded by docking stations, which may also provide additional benefits such as additional USB ports, card readers, and Ethernet ports.
Wireless Display Options
There are wireless display adapters available that can connect your MacBook Air to a TV or monitor that is compatible with wireless viewing. These adapters are not ideal for all situations, but they are available. If you only use it occasionally or if you have a limited amount of space on your desk for cables, this might be a good option for you. However, in comparison to wired connections, wireless connections may result in a decrease in video quality or the introduction of lag.
Software Compatibility
Make sure that the software applications you use are compatible with display duality. It is always a good idea to check for any known compatibility issues, even though the majority of modern applications make it possible to work seamlessly across multiple monitors.
Several Troubleshooting Tips
In the event that you experience any problems after connecting your displays, the following troubleshooting advice may be helpful:
- Double-Check Connections: Ensure all cables are securely plugged into both your MacBook Air and the monitors.
- Restart Everything: Sometimes, a simple restart of your MacBook Air and monitors can resolve minor glitches.
- Verify Display Settings: Head back to System Settings > Displays and ensure your settings are configured correctly, including resolution and mirroring options.
- Consult Support: If you’re still facing issues, Apple Support or the manufacturer of your monitors might have additional troubleshooting steps or resources available.